

Amydor Hot Foil Printing Machine News
Amydor Digital Hot Foil Printer News
Amydor keeps you updated with the latest news on various hot foil printing machines and insights into the printing industry.
How to create personalized wedding invitations using an automatic-feed digital hot foil printer?
Release time:
2025-08-06
Author:
Source:
Creating personalized gold foil printed wedding invitations with an automatic-feed digital hot foil printer is a straightforward process that yields stunning results.
First, focus on design preparation. Use design software such as CorelDraw, Adobe lllustrator to craft the invitation’s layout according to the couple’s preferences. Clearly outline the areas intended for gold foil printing—such as the couple’s names, wedding date, heartfelt messages, or decorative borders. Once finalized, save the design in a machine-compatible format for seamless import.
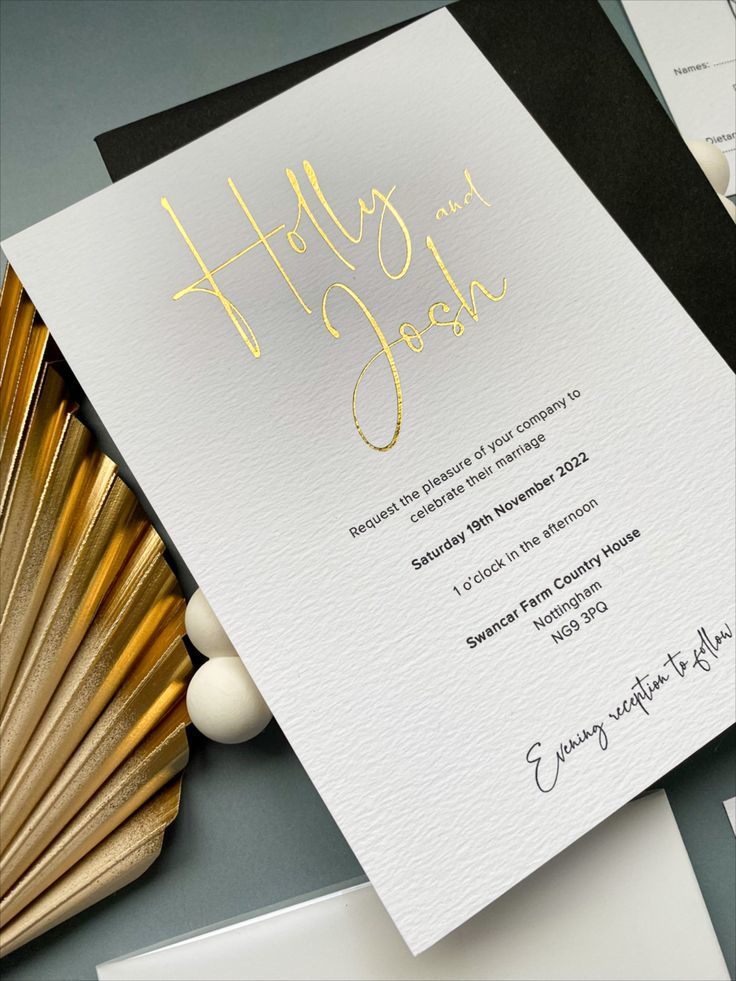
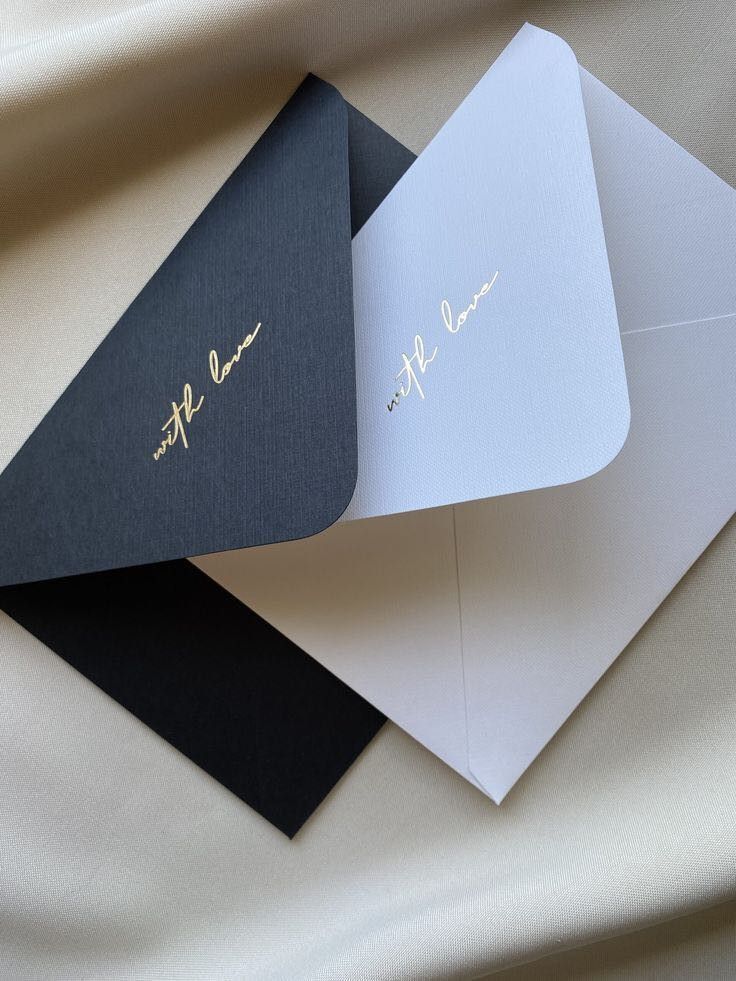
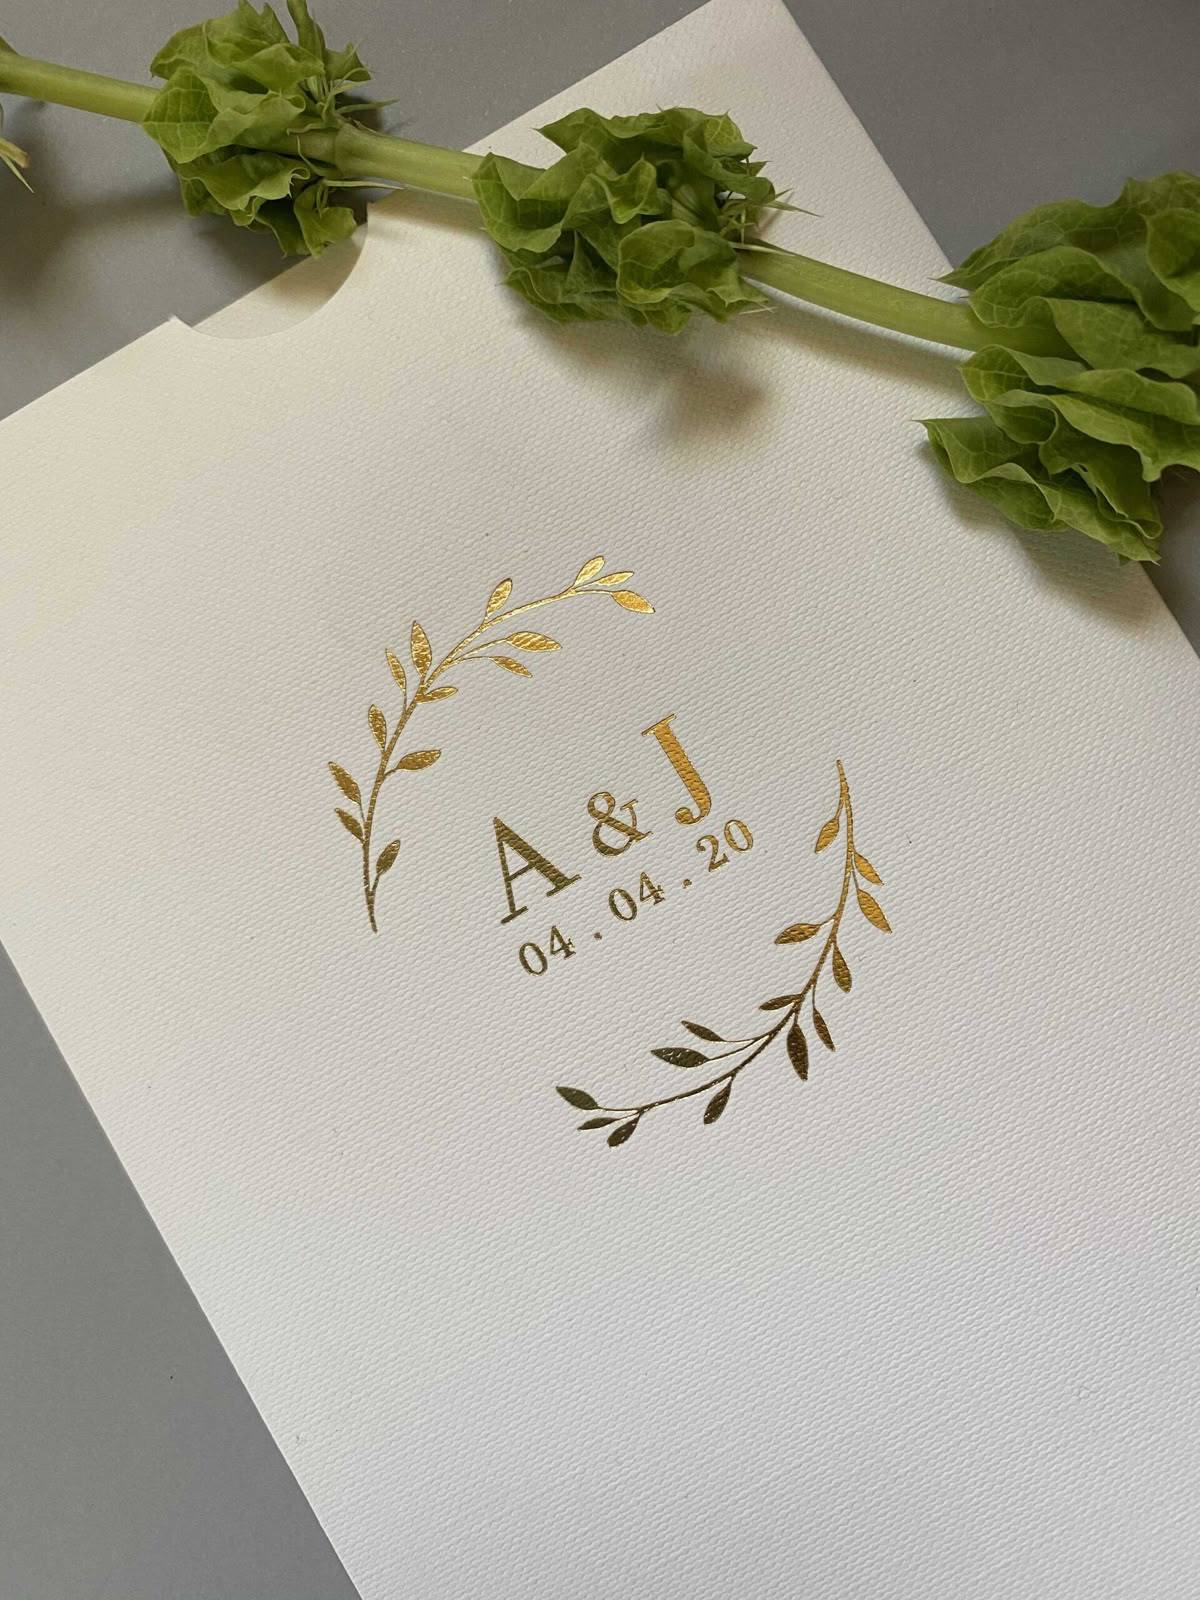
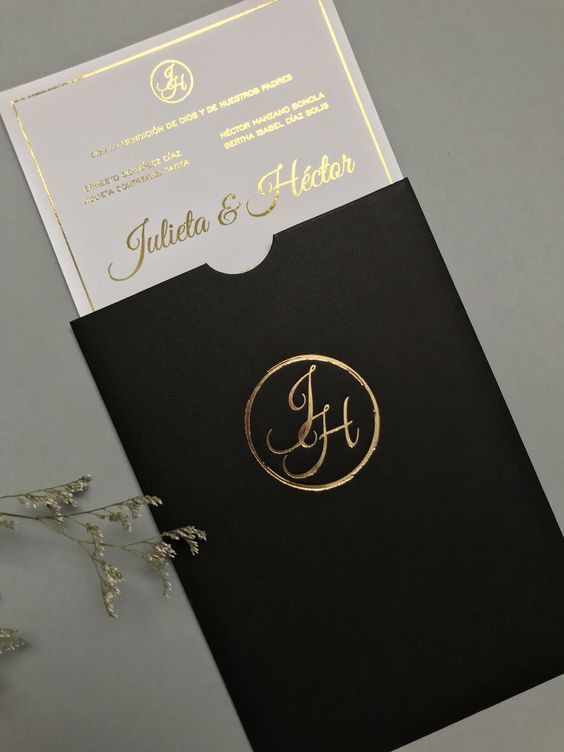
Next, select suitable materials. For the base paper, opt for thick specialty paper weighing 250-300g; textured art paper or elegant translucent slate paper work exceptionally well. Ensure the paper is smooth and wrinkle-free to guarantee a flawless foil finish. When choosing the foil, align it with the invitation’s style: classic gold exudes timeless elegance, while rose gold adds a romantic, warm touch. Prioritize high-quality foil to avoid imperfections.
Then, configure the machine. Load the selected paper neatly into the automatic feeder and upload the design file to the printer’s system. Based on the paper’s thickness and material, set the initial temperature between 120-140°C, and adjust pressure and speed accordingly. Run 1-2 test prints to check the clarity and positioning of the foil design. Make fine adjustments to parameters as needed until the desired effect is achieved.
Finally, proceed with batch production. Once all settings are confirmed, activate the machine’s automatic feeding function to initiate the full printing process. Monitor the operation closely to prevent paper jams or foil misalignment. After completion, neatly stack and organize the finished invitations—ready to impress with their personalized, luxe appeal.
Leave A Comment
* Note: Your email address will not be published. Required fields are marked
Recommend Blog


Contact Us
Jianhai International Center, Jingkai District, Zhengzhou City, Henan Province, China.
